
One of the biggest shortcomings of WinRT for Windows/Windows Phone 8.1 was the state of media APIs – you could play a video file in a MediaElement but anything that involved extracting frames or applying effects was very cumbersome, as you had to put your code in a Windows Runtime Component, and worse of all, you had to write it in C++/CX.
Thankfully UWP has come to save the day, and while you still need to use Windows Runtime Components for writing this functionality (with its associated limitations, like making all your public classes sealed), now you can use C# for things like custom video effects, and more importantly, you don’t have to tweak the application manifest anymore to declare the Extension/ActivatableClass for them to be available! Other improvements include new classes like MediaClip, which allows you to load individual videos, and MediaComposition, which lets you create a media timeline to stitch together video clips and render them as a full length video.
In this tutorial we are going to learn how to create a basic custom video effect that implements the IBasicVideoEffect interface for rendering a video in grayscale, and how to apply it to a MediaClip before playing it through a MediaElement.
Implementation
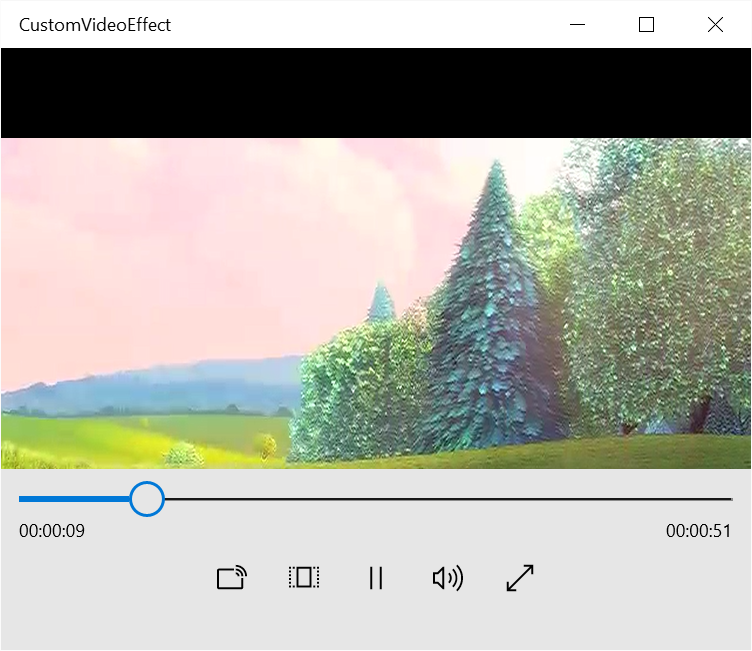
We are going to create a new UWP application project and add a MediaElement to the main page’s XAML. We will come back to this later when we have our video effect ready – but you can try fiddling around and make it play the video on your own, it should look something like this:
Now, add a new Windows Runtime Component project to the solution and add a new class to it. This is were we will implement our video effect based on IBasicVideoEffect, and this is very important as trying to implement it on another project type will throw a COMException with error messages Failed to activate video effect/Class not registered when trying to use the effect later.
Now that you have the class that will hold the code and it implements the appropriate interface, let’s walk through all the properties and methods that IBasicVideoEffect provides:
[code lang=”csharp”]
public bool IsReadOnly
{
get { return true; }
}
[/code]
IsReadOnly will return true if our effect doesn’t modify the input frame in any way. Since we are just going to get a source frame and apply a colour transform to it for drawing, we are going to set it as true.
[code lang=”csharp”]
public IReadOnlyList<VideoEncodingProperties> SupportedEncodingProperties
{
get { return new List<VideoEncodingProperties>(); }
}
[/code]
SupportedEncodingProperties returns a list of the video formats that our effect will support when outputting the processed video frame. As per the documentation, returning an empty list will give us frames in plain RGB format, which will be the easiest one to work on, so let be it.
[code lang=”csharp”]
public MediaMemoryTypes SupportedMemoryTypes
{
get { return MediaMemoryTypes.Cpu; }
}
[/code]
SupportedMemoryTypes is an enum that lets us specify if our effect will use the CPU, GPU or both for processing the frames. We want to set it to Cpu since this will give us access to the frame data through SoftwareBitmap, otherwise we would get handles to Direct3D data types.
[code lang=”csharp”]
public bool TimeIndependent
{
get { return true; }
}
[/code]
TimeIndependent lets us specify if our effect can be used while the playing video is in any playback state. We are going to modify the data per frame so we are going to set it to true.
[code lang=”csharp”]
public void Close(MediaEffectClosedReason reason)
{
}
public void DiscardQueuedFrames()
{
}
public void SetEncodingProperties(VideoEncodingProperties encodingProperties, IDirect3DDevice device)
{
}
public void SetProperties(IPropertySet configuration)
{
}
[/code]
These functions have pretty self explanatory names and we aren’t going to go through them since they aren’t used in this tutorial – however you can check the source code of the sample project for a brief explanation on what they are used for.
Finally, let’s explain what the ProcessFrame function does – the most important one, and the one we will be using for processing the frame data and applying our desired effect to the video clip.
[code lang=”csharp”]
public void ProcessFrame(ProcessVideoFrameContext context)
{
var inputFrameBitmap = context.InputFrame.SoftwareBitmap;
// Create intermediate buffer for holding the frame pixel data.
var frameSize = inputFrameBitmap.PixelWidth * inputFrameBitmap.PixelHeight * 4;
var frameBuffer = new Buffer((uint)frameSize);
// Copy bitmap data from the input frame.
inputFrameBitmap.CopyToBuffer(frameBuffer);
// Iterate through all pixels in the frame.
var framePixels = frameBuffer.ToArray();
for (int i = 0; i < frameSize; i += 4)
{
// Calculate the luminance based on the RGB values – this way we can convert it to grayscale.
var bValue = framePixels[i];
var gValue = framePixels[i + 1];
var rValue = framePixels[i + 2];
var luminance = ((rValue / 255.0f) * 0.2126f) +
((gValue / 255.0f) * 0.7152f) +
((bValue / 255.0f) * 0.0722f);
// Set the pixel data to the calculated grayscale values.
framePixels[i] = framePixels[i + 1] = framePixels[i + 2] = (byte)(luminance * 255.0f);
}
// Copy the modified frame data to the output frame.
context.OutputFrame.SoftwareBitmap.CopyFromBuffer(framePixels.AsBuffer());
}
[/code]
This function receives a ProcessVideoFrameContext as its only parameters, and it stores everything we need for applying our effect. The original frame for the video is stored inside the InputFrame member, and since we specified CPU processing, all the data for the frame image is in a convenient SoftwareBitmap in plain RGB (though in this case it’s ordered in BGR format) data.
We will start by getting the pixel data in a Buffer, and temporarily casting all its contents to a byte[]. Then, we iterate through it in increments of 4 bytes (since the frame has an alpha channel, too) and obtain the grayscale value via the relative luminance formula. Once this is done, we overwrite the R, G and B bytes with the luminance value, effectively obtaining a grayscale value with the same intensity as the source color. Finally, we copy our data buffer to the SoftwareBitmap of the output frame, and we will have a fully working custom video effect.That was easy, wasn’t it?
Back to our XAML page, hook up the Loaded event of the MediaElement (we have called it VideoPlayer since we will have to reference it later). Let’s open the code behind file and write the code for loading and playing the video file:
[code lang=”csharp”]
private async void VideoPlayer_Loaded(object sender, RoutedEventArgs e)
{
// Load video file
var videoFile = await Package.Current.InstalledLocation.GetFileAsync("big_buck_bunny.mp4");
// Create a MediaClip from the video file and apply our video effect
MediaClip clip = await MediaClip.CreateFromFileAsync(videoFile);
clip.VideoEffectDefinitions.Add(new VideoEffectDefinition(typeof(GrayscaleVideoEffect).FullName));
// Create a MediaComposition object that will allow us to generate a stream source
MediaComposition compositor = new MediaComposition();
compositor.Clips.Add(clip);
// Set the stream source to the MediaElement control
this.VideoPlayer.SetMediaStreamSource(compositor.GenerateMediaStreamSource());
}
[/code]
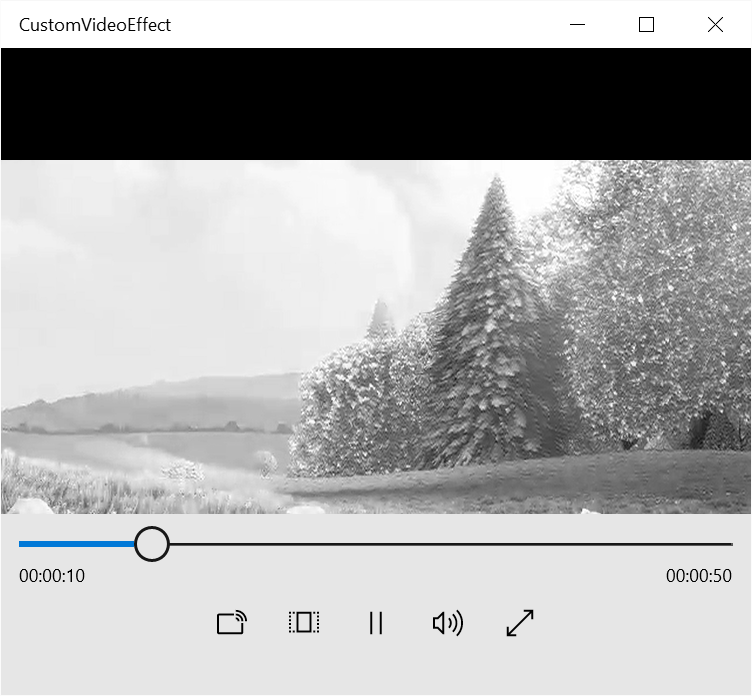
Pretty simple, isn’t it? We obtain a reference to the video file packaged with the app and create a MediaClip from it. Then, it’s a matter of adding a new VideoEffectDefinition to it with the full name (including namespace) of our custom video effect – the runtime will take care of fetching the type, activating and instancing it. Really easy compared to how convoluted it was in WinRT 8.1!
For displaying the video on the MediaElement, create a MediaComposition object and add the clip to it. Then it’s a matter of creating a MediaStreamSource from it with the GenerateMediaStreamSource function and passing it to our video playing control. The final result should look like this:
While easy to do and good looking, this approach comes with some caveats. Since we are doing all our processing on the CPU side, computational load is big (it can quickly eat up one entire CPU core even with 720p videos) and memory usage is high since we are allocating a new buffer for each frame – this can be up to 60 allocations per second! It a future article we will look into doing it with GPU acceleration through the Win2D library.
Source code
The source code for this sample can be downloaded from the GitHub UWP-Samples repository, under the CustomVideoEffect subdirectory.
Hi Rodrigo,
excellent code. Works perfect 🙂 One questions: How can I add events to the video effect? For example FaceDetectionEffect provide FaceDetected event. I dont’t know how to get access to the concrete instance of the effect.
Thanks for your work…
Hello Guido, sadly I have had that pending for quite some time – that is, checking a way of identifying (or passing my own) individual effect instances.
Have you tried making your events static though? It’s just a wild guess, but I’m assuming being a WinRT Component that won’t be allowed…