One of the many features that Silverlight never got from WPF was the ability to tile or repeat the image used on an ImageBrush. However, it had some workarounds like applying a custom pixel shader to get the same result – but, since the Silverlight version used on Windows Phone was even more limited, there hasn’t been a proper replacement (other than hacks based on displaying multiple images on a custom Panel control) in either Silverlight for Windows Phone, Windows Runtime or the new UWP platform.
Thankfully, now we have Win2D which combines the powerful graphical capabilities of Direct2D with the easiness of use of the XAML stack – and in this tutorial we are going to learn how to add a tiled background to our UWP app with very little code.
Approach
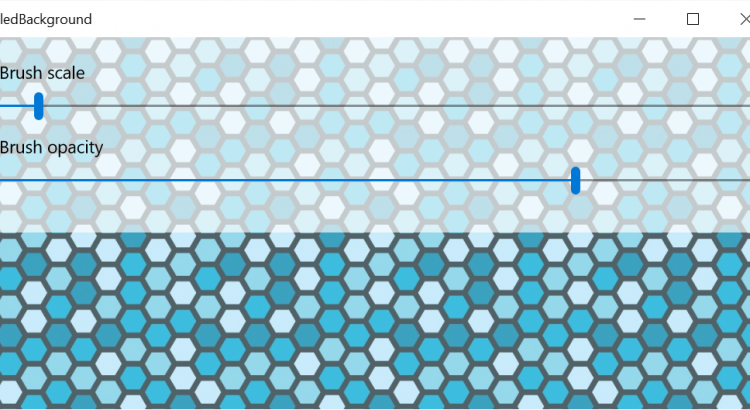
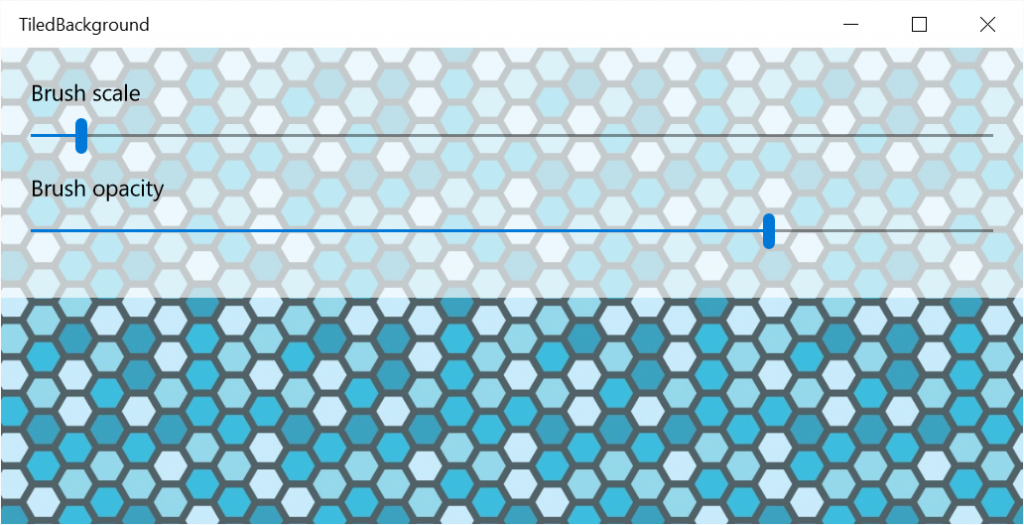
The premise is very simple – we will put an instance of Win2D’s CanvasControl in the root container of the page so it draws behind everything else, set both of its alignments to Stretch and fill it entirely using a CanvasImageBrush. Also, in the demo project, we will add some UI controls to tweak the scaling and opacity values to better showcase the flexibility of image brushes.
So, let’s get started!
Implementation
Start by adding the Win2D library from NuGet on your project, and as stated before, adding a CanvasControl element to the XAML page you want to. Hook up its CreateResources and Draw events and let’s jump to the code behind.
Declare two fields of type CanvasBitmap and CanvasImageBrush, as we will need them to hold the references to the background image and the brush that will be used for drawing, respectively. Then we can proceed to initialize them in the event handler for CreateResources that we added previosly – but wait, there’s a catch!
Win2D’s CanvasControl is nice enough to start drawing only when all resources have been loaded. But we have a problem: our event handler is of type void and we will need to do some asynchronous calls inside it; adding the async modifier to it won’t solve anything since async void methods are fire-and-forget. The answer is to use CanvasCreateResourcesEventArgs.TrackAsyncAction.
By wrapping all our async calls inside a Task and casting it to an IAsyncAction by calling AsAsyncAction, we can pass all our resource loading operation to the CanvasControl so it can track when they have completed, and start issuing draw events. Sounds a bit confusing? It can be at first, so check the following code snippet:
[code lang=”csharp”]
private void BackgroundCanvas_CreateResources(CanvasControl sender, CanvasCreateResourcesEventArgs args)
{
args.TrackAsyncAction(Task.Run(async () =>
{
// Load the background image and create an image brush from it
this.backgroundImage = await CanvasBitmap.LoadAsync(sender, new Uri("ms-appx:///Background.jpg"));
this.backgroundBrush = new CanvasImageBrush(sender, this.backgroundImage);
// Set the brush’s edge behaviour to wrap, so the image repeats if the drawn region is too big
this.backgroundBrush.ExtendX = this.backgroundBrush.ExtendY = CanvasEdgeBehavior.Wrap;
this.resourcesLoaded = true;
}).AsAsyncAction());
}
[/code]
As you can see, we just load our background image from disk and create the CanvasImageBrush with it. And to make it tile properly, we change both ExtendX and ExtendY to CanvasEdgeBehavior.Wrap – the default value is CanvasEdgeBehavior.Clamp which just extends indefinitely the last row or column of pixels.
That’s it for the initialization. Now let’s proceed with the drawing function, which is even easier, since we just fill a rectangle with the same size as the bound’s controls using the brush we have just created:
[code lang=”csharp”]
private void BackgroundCanvas_Draw(CanvasControl sender, CanvasDrawEventArgs args)
{
// Just fill a rectangle with our tiling image brush, covering the entire bounds of the canvas control
var session = args.DrawingSession;
session.FillRectangle(new Rect(new Point(), sender.RenderSize), this.backgroundBrush);
}
[/code]
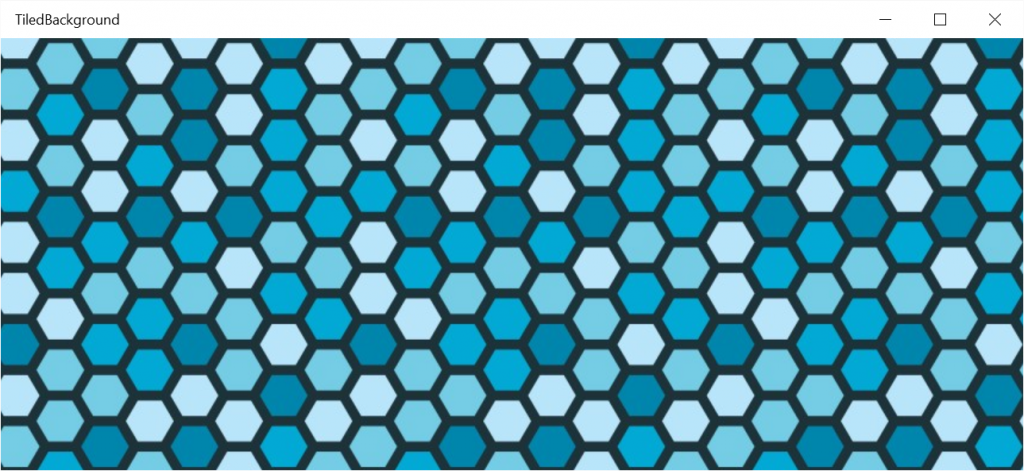
And that’s it! We now have a nicely tiling background. And to add a bit more of flexibility, we are going to explore the possibility of changing the size of the tiled image (by default it draws it with the same physical size as the source image) and its opacity. Add two Slider controls and hook their ValueChanged events – one for the scale, another for the opacity.
Let’s start with the opacity one. We will just divide its value by 100 (since Slider controls only support integer values, and the opacity range goes from 0.0 to 1.0) and assign it to the Opacity value of our ImageBrush. The call to CanvasControl.Invalidate will force a redraw of the background canvas so it updates accordingly:
[code lang=”csharp”]
private void OpacitySlider_ValueChanged(object sender, RangeBaseValueChangedEventArgs e)
{
// Don’t modify the brush properties if it hasn’t been initialized yet
if (!this.resourcesLoaded)
{
return;
}
// Change the opacity of the brush
this.backgroundBrush.Opacity = (float)(e.NewValue / 100.0);
this.BackgroundCanvas.Invalidate();
}
[/code]
Wait a minute – notice the resourcesLoaded flag? We added it so we don’t change any brush properties before it has been created. Just create it as a boolean field and set it to true at the end of the Task that creates your graphics resources.
And finally, let’s tackle the image scaling. This will be as easy as creating a Matrix3x2 that holds a transform (in our case, one that only has scaling) and assigning it to the brush’s Transform property. We can do lots of thing with this – rotate the brush image, skew it… your imagination is the limit!
[code lang=”csharp”]
private void ScaleSlider_ValueChanged(object sender, RangeBaseValueChangedEventArgs e)
{
// Don’t modify the brush properties if it hasn’t been initialized yet
if (!this.resourcesLoaded)
{
return;
}
// Apply a scale matrix transform to the brush; this way we can control how big the image will be drawn
this.backgroundBrush.Transform = System.Numerics.Matrix3x2.CreateScale((float)(e.NewValue / 100.0));
this.BackgroundCanvas.Invalidate();
}[/code]
Source code
Get the full source code for this tutorial’s project on the Win2D-Samples GitHub repository – it’s sitting on the TiledBackground folder.


hi i try to erase some part of image in windows phone app. i use GDI solution but is solution is so slowly
Have directX ability to do it?
http://stackoverflow.com/questions/37642059/how-to-draw-a-fast-line-in-writeablebitmap-in-winrt-app